
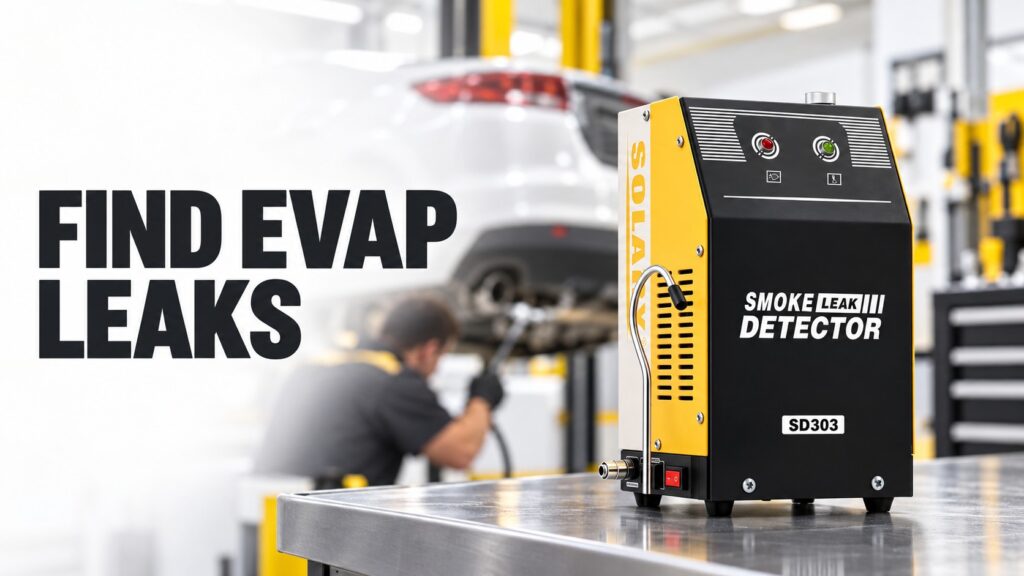
An EVAP warning can leave you looking at a car that starts, runs and shows no obvious leak. Replacing the fuel cap may be tempting, but a damaged connector or a valve that will not seal can produce a similar complaint. A properly prepared smoke test helps turn that uncertainty into a specific inspection point.
To find an EVAP leak, connect suitable smoke-testing equipment at the vehicle-approved point, establish the required valve positions and test conditions, then trace smoke escaping from unintended openings. Repair the confirmed fault and repeat the check. The connection and permitted pressure depend on the vehicle.
This guide follows the job from initial checks to repair verification, with particular attention to the setup errors that can waste workshop time.
What Is an EVAP Leak?
An EVAP leak is an unintended opening in the evaporative emission control system that can allow fuel vapor to escape or prevent the system from maintaining the conditions required for its diagnostic checks.
The EVAP system contains fuel vapor and routes it toward the engine for controlled combustion. Its components commonly include the fuel tank, filler assembly, vapor lines, charcoal canister, purge valve, vent valve, and pressure-sensing or leak-detection hardware. Layouts vary by vehicle.
A leak does not always leave a wet fuel stain. Vapor can escape through a damaged seal or small crack without visible liquid fuel. That is why an automotive smoke machine can be useful when a visual inspection reveals little.
However, an EVAP fault code is not automatic evidence of a split hose. Valve operation, electrical faults, restrictions, pressure-sensor errors, and software-related concerns may require separate diagnosis.
Before the EVAP Test
Use an EVAP smoke test when fault information and preliminary checks suggest a containment problem. It is especially useful for tracing suspected leaks around fittings, filler seals, canister connections, and tank-mounted components.
| Diagnostic clue | What to check before testing |
|---|---|
| P0442 or P0456 leak-related code | Confirm the vehicle-specific code definition and diagnostic procedure |
| Loose-cap message or a code after refueling | Inspect the cap, sealing surface, or capless filler assembly |
| Recurring EVAP fault after a repair | Check disturbed connections and verify the original diagnosis |
| Fuel vapor odor | Inspect for liquid fuel leakage and resolve unsafe conditions first |
Start by recording current and pending codes, freeze-frame information, and recent repair or refueling history. Consult applicable service bulletins. A Volkswagen technical bulletin, for example, addresses several EVAP-related codes through a vehicle-specific update; a code alone does not determine the repair.
If you are deciding when smoke testing adds diagnostic value, SOLARY’s article Is the Smoke Leak Detector Really Useful? provides a broader introduction.
Prepare the Test
EVAP testing involves a fuel vapor system. Check both the vehicle procedure and the smoke machine manual before connecting anything. An equipment feature list does not establish that every test setup is suitable.
- Work with the engine off, away from ignition sources, in a ventilated area.
- Let hot components cool and secure the vehicle before inspecting underneath it.
- Use EVAP-compatible adapters and the prescribed smoke fluid.
- Confirm the permitted pressure, gas supply, fuel-level conditions, and valve-control requirements.
- Use a suitable scan tool when the procedure requires bidirectional valve commands.
- Inspect hoses and adapters for damage before introducing smoke.
Some procedures require an inert gas supply. For example, the Bosch SMT 300 operator manual specifies non-combustible gas for fuel vapor recovery testing. Follow the requirements for the actual vehicle and detector; do not substitute an air-pump setup where the specified procedure requires inert gas.
Never connect unrestricted shop air directly to the EVAP system. Use equipment that regulates and measures pressure appropriately for the prescribed test. Stop if you discover active liquid fuel leakage or another unsafe condition.
EVAP Test Procedure
1. Inspect the Filler and Accessible Vapor Lines
Before setting up the machine, inspect the easiest potential leak points. Check the fuel cap seal and filler sealing surface, or inspect the capless filler assembly using the manufacturer’s procedure.
Look for damaged seals, contamination, cracked housings, disconnected lines, and fittings disturbed during previous work. On vehicles with a removable cap, make sure it is the correct part and installed properly.
A damaged cap seal is worth investigating, but do not replace the cap simply because a leak code is present. Similar complaints can originate elsewhere in the system.
2. Identify the EVAP Test Connection
Connect at the point specified in service information. Depending on the vehicle, the procedure may use a dedicated service port, an approved vapor-line connection, or a filler adapter.
Do not assume every vehicle has a service port. Also, removing or bypassing a service-port valve may require a particular tool and procedure. Avoid forcing fittings or disconnecting unrelated fuel lines.
Check whether the adapter seals the filler itself. If it replaces the fuel cap during testing, that setup may not evaluate the original cap seal. Test the cap separately when required.
3. Establish the Correct Valve Positions
The EVAP system is not permanently sealed during normal operation. Its vent and purge paths change state, so the test procedure must specify how to contain smoke.
Use the required scan-tool commands or approved isolation method. Confirm that a commanded valve actually responds; the displayed command alone does not prove that the valve seals.
The Mitsubishi P0456 diagnostic procedure illustrates why valve checks matter: it includes testing purge and ventilation components as well as inspecting vapor-line sealing. The correct sequence depends on the vehicle.
Do not improvise by applying power to an unfamiliar valve. Avoid crushing hard plastic lines with hose clamps or treating a diagnostic plug as a permanent repair.
4. Check the Machine and Introduce Smoke
Verify the detector’s operation according to its instructions before interpreting a vehicle result. A damaged test hose or poorly sealed adapter can imitate an EVAP leak.
Introduce smoke using the approved pressure and gas supply. Allow it to travel through the intended circuit before inspecting for small escaping wisps.
The fuel tank and connected components create a larger test volume than a short vacuum hose. Do not diagnose a leak from an initial pressure or flow reading before the procedure’s required stabilization conditions are met.
If smoke does not reach the expected area, inspect the connection and circuit layout. Increasing pressure to overcome an unexplained restriction can damage components and invalidate the test.
5. Inspect from the Connection to the Tank
Follow the vapor plumbing methodically. Use a bright light and inspect behind protective covers where access is permitted. For underbody work, use approved lifting and support practices.
Common inspection areas include:
- Fuel cap seal, filler neck, or capless filler assembly.
- Vapor-line quick connectors and hose joints.
- Charcoal canister housing and connections.
- Vent valve housing, seals, and attached plumbing.
- Tank-mounted fittings and accessible sealing joints.
- Vapor lines routed near abrasion points or heat sources.
Trace smoke back to its origin. Air movement can carry a plume away from the actual opening, especially around the rear underbody. Reposition the light rather than relying on the first visible cloud.
6. Isolate the Suspect Area
Once you identify a possible leak, determine whether it comes from a damaged component, a normal passage, or the test setup.
For example, smoke at the vent outlet may mean the vent has not been placed in the required test state. Smoke traveling toward the intake may call for purge-valve inspection or additional isolation. Neither observation should trigger parts replacement without checking the procedure.
Where approved, test sections separately to narrow the leak path. Inspect connector seals and locking features before condemning a complete canister or line assembly.
7. Repair and Verify the Complete System
Repair the confirmed defect with suitable parts and installation methods, then repeat the smoke test. Check the full test boundary, not only the repaired connection.
Remove temporary plugs, restore vapor lines and electrical connectors, and return commanded valves to normal operation. Confirm that the cap or filler assembly is installed correctly.
Follow the vehicle’s leak-check routine and readiness requirements. Clearing a code does not prove the repair; an EVAP monitor may need specific operating conditions before it runs again.
Read the EVAP Result
Visible smoke is most useful when you know which openings should be sealed. Pressure and flow results also depend on equipment capability and the prescribed test conditions.
| Result | Possible meaning | Next check |
|---|---|---|
| Smoke at a cracked hose or canister housing | External leak in the tested circuit | Confirm the exact location, repair, and retest |
| Smoke at the adapter | Test setup is leaking | Correct adapter sealing before diagnosis |
| Smoke at the vent outlet | Open vent path or a valve that does not seal | Verify commanded state and valve operation |
| Smoke reaches the intake | Connected purge path or valve sealing issue | Check the approved purge-valve test |
| No visible smoke despite a recurring code | Intermittent fault, internal leak, restricted distribution, or a non-leak concern | Continue the vehicle-specific diagnostic sequence |
No visible smoke is not an unconditional pass. Some faults depend on temperature, component movement, vacuum, or the operating state of the leak-detection hardware.
Small and Intermittent Leaks
Keep the Test Boundary Consistent
Record the connection point, isolation method, and valve commands. Use the same approved configuration for the repair retest so you can compare meaningful results.
Check More Than the First Visible Leak
A loose connector can release enough smoke to obscure another fault. Repair or isolate the confirmed opening as directed, then inspect the remaining circuit again.
Use the Correct Smoke Fluid
Follow the detector’s fluid specification. SOLARY’s article on choosing oil for an EVAP machine provides background, but your equipment manual should determine what goes into the machine.
Separate Leak Testing from Component Diagnosis
A smoke test helps locate openings; it does not independently prove that a pressure sensor reads accurately or that a solenoid’s electrical circuit works. Use scan data, electrical checks, and component tests where the diagnostic sequence calls for them.
Match the Equipment
For an auto repair shop, equipment selection should begin with the circuits and vehicle procedures the workshop needs to support. Review pressure compatibility, gas-supply requirements, adapters, operating instructions, and service access.
Compare equipment against the actual vehicle procedure, including pressure regulation, gas supply and adapters. The SOLARY SD303 catalogue specifies Smoke Mode and Build In Air Pump; it does not list Air & Smoke Mode or a pressure gauge. These catalogue features do not establish compatibility with every EVAP procedure.
If the required pressure or gas configuration is not supported, choose suitable alternative equipment. Ask for the operating instructions and application confirmation before purchasing.
FAQ
Can a smoke machine find an EVAP leak?
Yes, suitable smoke-testing equipment can reveal external openings in EVAP lines, seals, canister housings, and related connections. Correct valve positioning, pressure, gas supply, and adapters are essential.
Where do you connect a smoke machine for an EVAP test?
Use the connection specified in the vehicle’s service information. It may be an EVAP service port, an approved vapor-line connection, or a filler adapter. There is no single connection point for every vehicle.
Does a P0456 code mean the fuel cap is bad?
No. P0456 commonly indicates a very small EVAP leak, but the cause may involve the cap, vapor lines, seals, valves, or other components. Confirm the vehicle-specific definition and diagnostic checks before replacing parts.
Should the engine run during an EVAP smoke test?
Keep the engine off during the static smoke test. Some procedures require ignition-on scan-tool commands to position valves, which is different from running the engine.
Can I use compressed shop air to test the EVAP system?
Do not connect unrestricted shop air directly. Follow the specified pressure controls and gas requirements. If the procedure requires inert gas, use compatible equipment and the required supply.
Why does the EVAP code return after no smoke was found?
The fault may be intermittent, smoke may not have reached the affected section, or the problem may involve valve operation, sensors, or other diagnostics. Check the test setup and continue the manufacturer’s procedure.
Choose Your Workshop Tester
Before ordering, list the vehicle systems you need to inspect and the adapters used in your workshop. Review the SOLARY SD303 smoke leak detector and compare it with our smoke testing equipment range.
For a workshop purchase, distributor order or OEM enquiry, request a quotation with the model, quantity, destination country, intended applications and logo or packaging requirements. SOLARY can confirm the product configuration and supplied accessories before you place an order.