
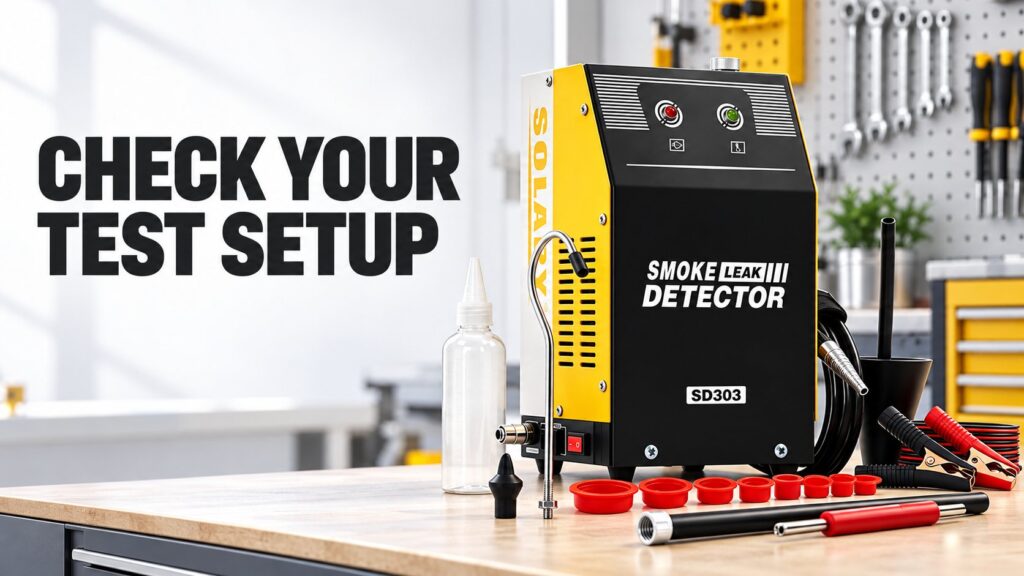
A smoke machine can make a hidden vapor leak visible, but only after the test circuit has been prepared correctly. An open vent, a loose adapter or the wrong connection point can send smoke out of the system before it reaches the area you need to inspect.
This workshop guide focuses on EVAP smoke test setup: selecting the connection, establishing valve positions and distinguishing a vehicle leak from a setup problem. For the full inspection sequence, read our guide to finding an EVAP leak.
Start with the Test Boundary
Before connecting equipment, identify which section the vehicle procedure expects you to test. Write down the connection point, the required purge and vent states and any components that must be isolated. A smoke plume has diagnostic value only when you know whether its exit should be closed.
Record fault codes, recent repairs and refueling history. A leak-related code is a starting point for diagnosis; it does not identify a failed fuel cap, hose or valve by itself. Check the vehicle service information before selecting equipment or replacing parts.
Choose the Connection
Depending on the vehicle, an approved connection may be a service port, a vapor line or a filler adapter. Use an adapter that fits and seals without forcing the connector. Do not assume every car has a service port or disconnect a liquid-fuel line to introduce smoke.
A filler adapter can change what the test includes. If the adapter replaces the fuel cap, smoke testing through it may not evaluate the original cap seal. Include a separate cap check when the vehicle procedure requires one.
Check Equipment Compatibility
Confirm the permitted pressure, required gas supply, specified smoke fluid and available adapters. Work with the engine off in a ventilated area, away from ignition sources. Allow hot components to cool. Resolve active liquid-fuel leakage before proceeding.
Never introduce unrestricted shop air directly into the EVAP system. Where a procedure requires inert gas, use compatible equipment and the specified supply. A built-in air pump does not establish suitability for every fuel-vapor test.
The SOLARY SD303 smoke leak detector is a smoke-mode model with a built-in air pump. Do not treat it as a dual air-and-smoke-mode model or assume it provides a pressure gauge. Ask SOLARY to confirm the operating configuration against the applications you intend to support.
Establish Valve Positions
The vent and purge paths change state during vehicle operation. Use the scan-tool commands or approved isolation method specified for the test. A displayed command does not prove that a valve has moved or sealed.
If smoke exits at the vent, first check whether that path should be closed in the current test. If smoke travels toward the intake, determine whether the purge path is connected intentionally or requires a separate sealing check. Avoid condemning a valve from smoke location alone.
Check the Setup Before the Vehicle
Inspect the detector hose and adapter seals. Verify detector operation according to its manual. A leaking hose or adapter can imitate a vehicle fault and make the rest of the test difficult to interpret.
Introduce smoke under the approved test conditions and allow it to reach the intended circuit. Do not increase pressure to overcome an unexplained restriction. Check the plumbing layout and isolation points instead.
Read the Result
| Observation | Next check |
|---|---|
| Smoke around the adapter | Correct the adapter seal before diagnosing the vehicle. |
| Smoke from a cracked vapor line | Trace the plume to its source, confirm the defect and repair it. |
| Smoke from the vent outlet | Check required valve state and actual valve operation. |
| No visible smoke | Confirm smoke distribution and continue the prescribed diagnostic sequence. |
A large test volume can take time to fill. Initial flow or pressure behavior should be interpreted only under the stabilization conditions prescribed for that vehicle and equipment. No visible smoke is not an unconditional pass for an intermittent or internal fault.
Document and Retest
Record the connection, valve commands, isolation method and confirmed leak location. After repair, repeat the check using the same approved test boundary. Inspect the complete circuit rather than stopping at the repaired joint.
Remove temporary plugs, restore lines and electrical connections and return commanded components to normal operation. Follow the vehicle readiness and monitor requirements; clearing a code alone does not verify a repair.
FAQ
Where should I connect an EVAP smoke tester?
Use the point specified by the vehicle manufacturer. A service port, vapor-line connection or filler adapter may be used depending on the vehicle.
Why does smoke escape from the vent?
The vent may still be open, may not be in the required test state or may not seal. Verify the procedure and component response before replacing it.
Does a filler adapter test the fuel cap?
Not necessarily. An adapter that replaces the cap can exclude the original cap seal from the test. Check it separately when required.
Can every smoke machine perform every EVAP test?
No. Pressure controls, gas supply and adapters must match the vehicle procedure and equipment instructions.
What should I do when no smoke is visible?
Check the setup and distribution first, then continue the vehicle diagnostic sequence. Intermittent faults and non-leak concerns may need additional testing.
Equip Your Workshop
Compare the SD303 with our smoke leak detector range. For workshop supply, wholesale or OEM requirements, request a quotation with your intended applications, order quantity and destination. Confirm configuration and accessories before ordering.